So, playrooms are great for lots of things: they are great for making "forts," for lots of pretending, make-believe games and for playing dress-up. They are also for laughing and being creative, dancing and singing, crafting and coloring, enjoying the company of friends and family, and also a way to
try and keep mom and dad a little more sane by attempting to limit some of the more messy chaos of discovery and fun into one room in the house, more or less. (So we like to think.) They can become one of the hearts of your house, because this is where so much of the learning, loving, discovering, and just sharing can take place. Obviously those things happen wherever you are (even in the bathroom, sometimes) but this is one room that is dedicated specifically to your children--to their creativity and to their growth. (And to their mess. ;) ) And your life is dedicated to them. Parenthood is truly a miracle and unbelievable gift.
All that said, this doesn't mean that the room has to always be a mess and can't have some semblance of organization. (I've seen many a playroom more organized and cleaned than various college roommates' bedrooms.) It also doesn't mean that mom can't have some fun decorating it and adding some of her own creativity to the playroom (or that it needs to cost a lost of money). I, for one, LOVE whimsical playrooms. The great news is, it doesn't have to cost us hundred of dollars to upgrade our playroom a little. Really, less than $10. With the help of just a few of the simple scrapbooking tools we have on hand, we can add a bit more design and cohesiveness to the room. So here are just a few ideas for how to spruce up your playroom! (If you haven't already seen my previous post on some simple images to frame for your playroom, check out this post:
Picture Perfect Playroom. Just dollar store frames and Cricut images!)
"Star Work" or Artist's Board
This board is similar to a gift we made for my Dad to hang up in his house, which you can see in my previous post "
Grandpa's Little Artist." This board was made using a scrap piece of plywood, some left over fabric from the playroom curtains :), a little batting, and some clamps. I merely put the batting on top of the board, covered it with the left-over fabric, wrapped the excess the fabric around to the back of the board and stapled it in place on the back. Then I screwed the clamps into the board, through the fabric. Voila. Easy peasy. Finish off with a vinyl quote above your little artists' display board! For some other ideas of quotes about art that might be fun to put above it, try this
link. Need vinyl colors to match your color scheme? I can bet you we've got 'em at a good price:
Silhouette colored vinyls or
Cricut colored vinyls. (Really, they both work fine in either product.)
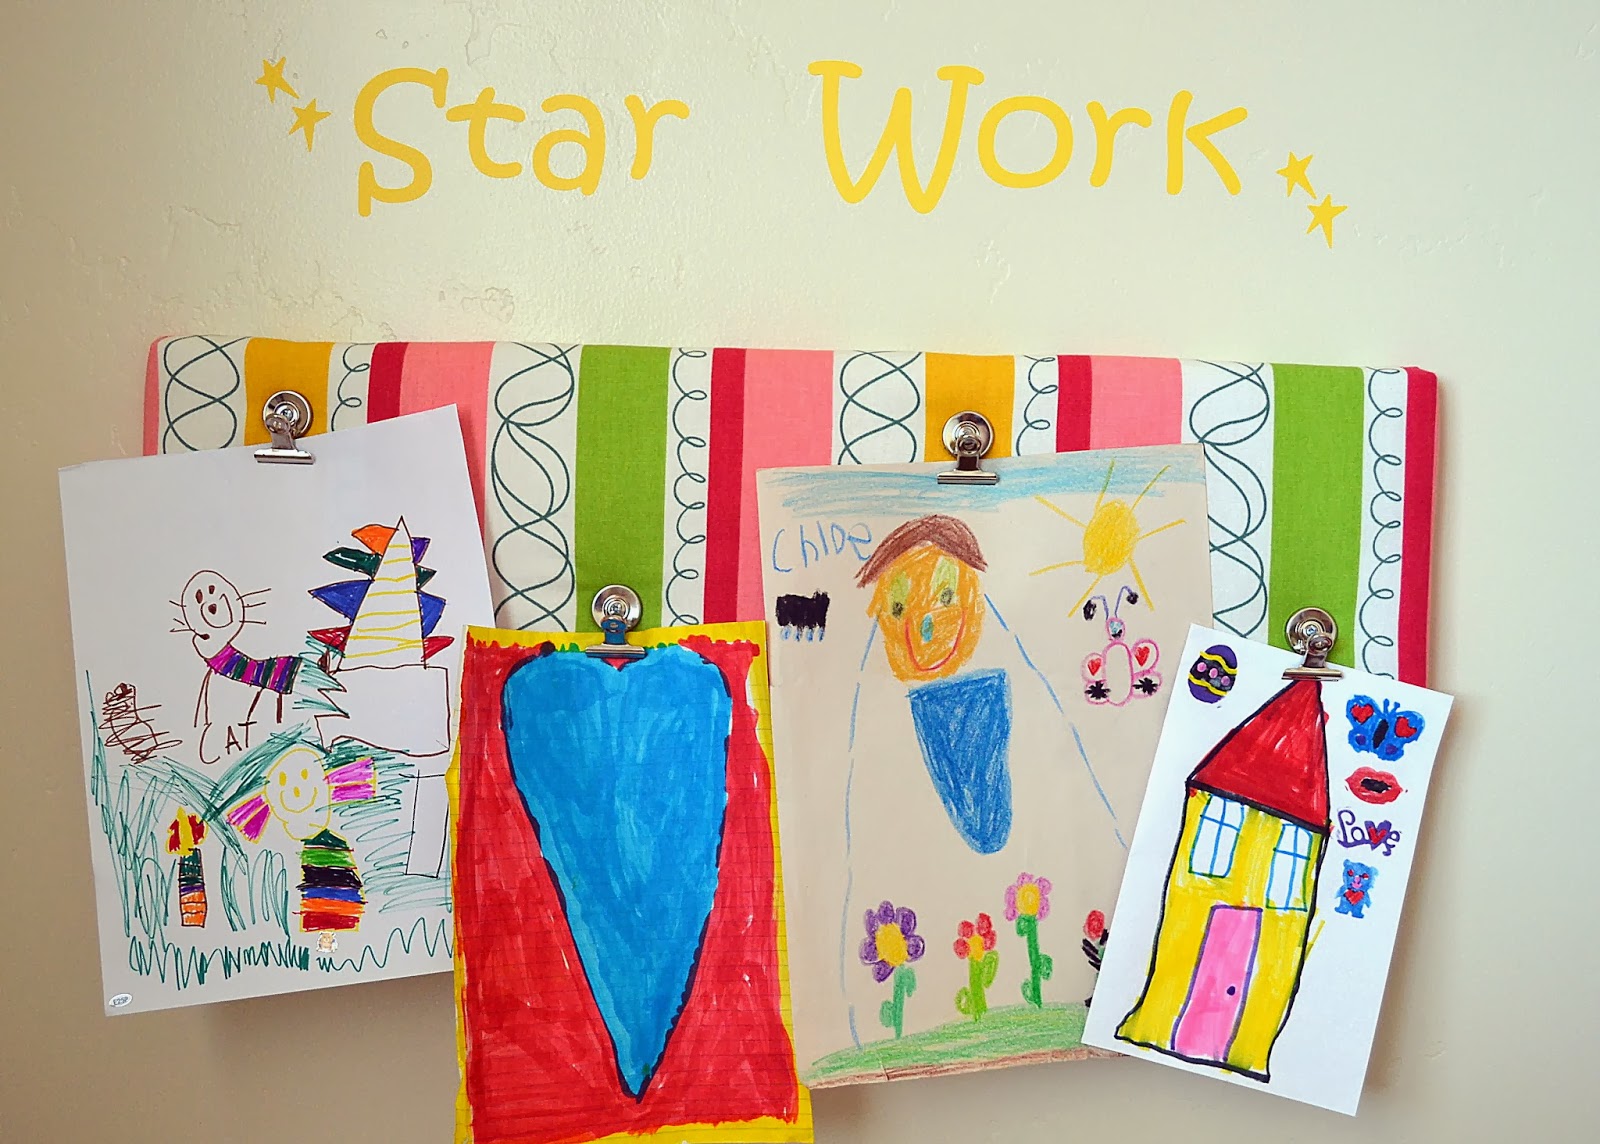 |
| Hang children's art on this easy to make board, and use vinyl above it. "Star Work!" |
Height Chart
Have extra vinyl now, of one particular color? Why not make a "height chart" for one wall to measure your kids up against.
(Is she cute or what? :) ) Use a pencil and a ruler to mark the correct distance for where to place your vinyl. And, as always, remember the vinyl will come off walls without ruining paint, so fear not to adhere! :) If you mess up, just slowly pull the vinyl off starting on one side. If it has adhered well, use a blow-dryer to loosen it up a bit.
Playroom "Rules"
My sister saw this on Pinterest and decided to print it out on some scrapbook paper and frame it for the playroom. You could, once again, use vinyl, if you so desire. And obviously you can make up your own "rules." Have the kids help you create them.
And finally, here's another simple and simply cheap update to your playroom that can add a splash of color and fun.
Paper backed bookshelves
Glue or otherwise adhere scrapbook paper (or wall paper, or wrapping paper, for that matter) to the back of the book or toy shelf. Pull out the shelves from the backing (this is one of those cheap Wal-Mart models where the shelves just slide in) and glue on your matching paper, being careful to not leave any areas uncovered. Slide the shelves back in and you are DONE. Cute, eh?
There you go! And, as always, we'd love to hear some of what you've done!